Start: Replacing floor pans in your 240Z
Materials:
-Slab of beer
-Angle grinder with cut off wheel
-Angle grinder with flap disc (coarse)
-A couple of pairs of pliers/vice grips
-Hammer & dolly
-Screwdriver
1: First of all start to cut out the bulk of the floor pan ahead of the front seat mount, just leaving the flanges {where two sheet metal panels overlap and are spot welded together} that are spot-welded to the body of the car on the firewall, rockerpanel and rear deck support. The OEM floorboards were one continuous piece of sheetmetal, from the rocker panel, up over the transmission and then to the rocker panel on the other side of the car. So there will be no existing seam, nor flanges along the transmission tunnel.

2: Now you have the flanges to remove where they are spotwelded, split or cut the strip in one place and grab that end with the pliers, now just roll it up and tear it from the body of the car,
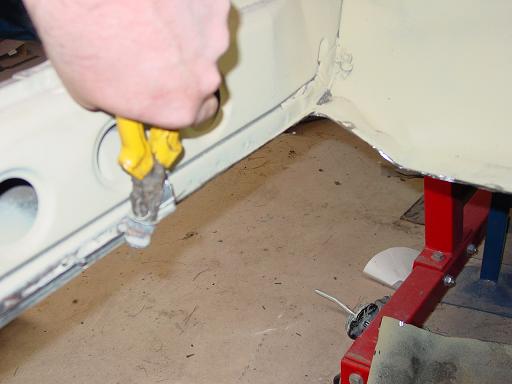
3: Insert a lever into the pliers if you need some extra twisting power.
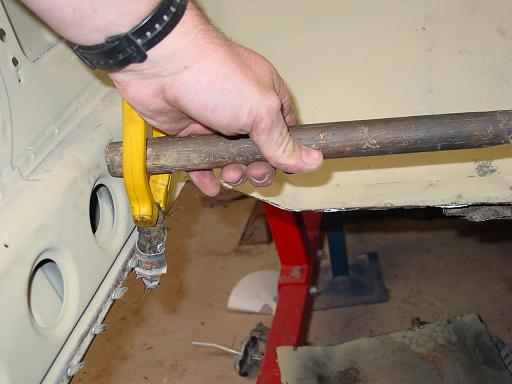
3a: If the thin flanges at the firewall and rear deck support distort, it's not a problem, the flanges can be tapped back into place with a hammer and dolly.
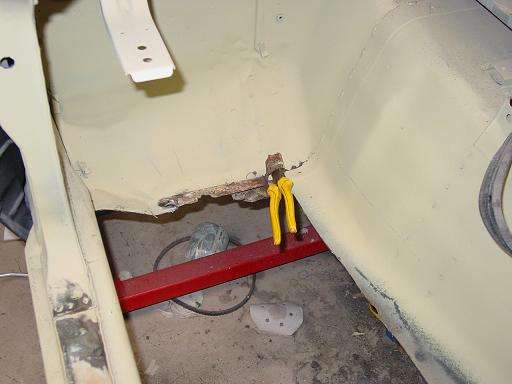
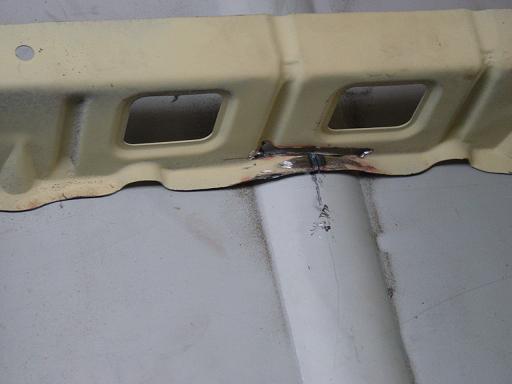
4: This will leave you with just the spotwelds left attached to the car as seen in the photo below.
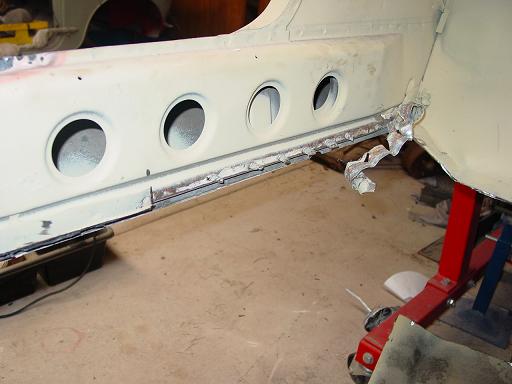
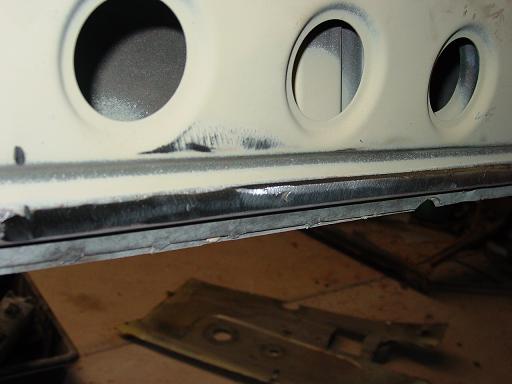
5: Once you have torn the strips off you need to clean them up, for this a flap wheel in a 115mm (4.5 inch) grinder seems to work the best, as it's not as agressive as a grinding wheel, more of a polishing effect. God bless the man who invented these, but I wish he would strike the 3M man dead who patented it and now you have to pay 20 bucks per disc, but they last a long time.
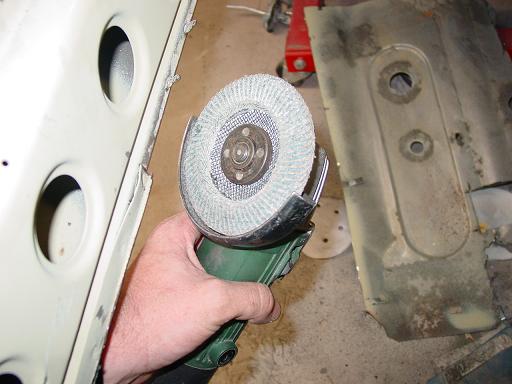
6: Repeat this step of removing the strips for everywhere that there is a line of spotwelds joining the floor to something else, and clean up the dags the same as above.
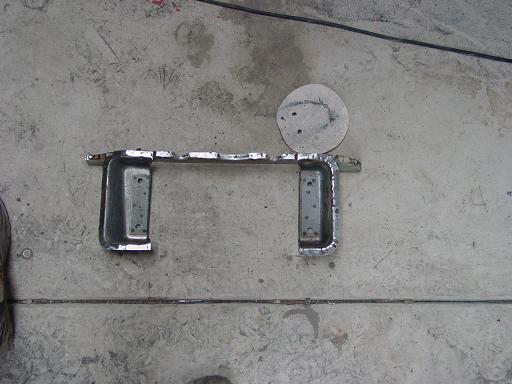
7: The front seat mount can stay in place, but the back mount is not independent of the floorpanel, so it can be cut out now (it also makes it heaps easier to fit the new floor), but save the rear mount for later.
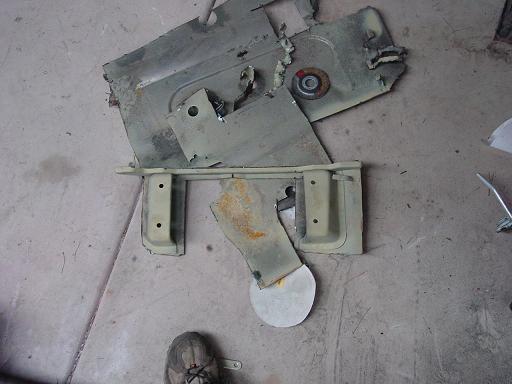
8: Remove the floor behind the front seat mount, leaving the front seat mount in place.
8a: Once roughly cut out, you can remove all the old floor from the rear seat mount with the peel and grind method. Getting it all ready for reinstallation after the new floor is tacked in place.
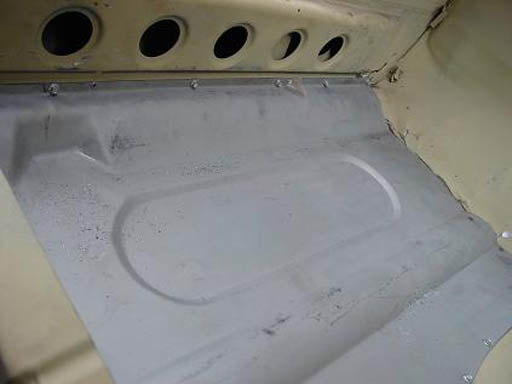
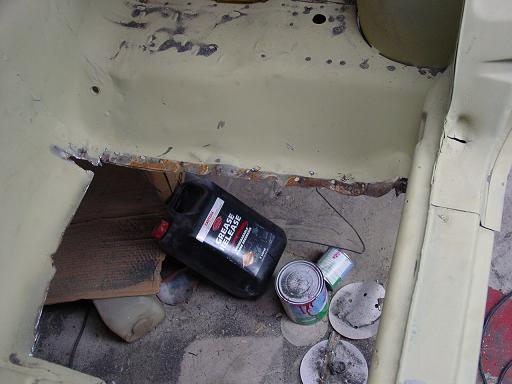
9: Once all the old floor is removed and roughly cut out to the right shape, you can now slide in the new floor. To do this the front and back openings you cut have to be the same width as the new floor, but the rest can be left oversize at this stage.

10: On my floor (which is a locally made item) the hump in the passengers side (that's the Left Hand Side in Australia) which stopped under the front seat mount in the original was continuous, so it needed a bit of cutting and shutting to get to fit flush with the seat mount.
11: It was at this point that I hit my finger with a hammer trying to beat the seatmount into shape, and my faithful assistant "Jumbo" took off with my bag of tec screws - which are still yet to be found, so more to come soon.

Notes:
1. This is the second side I have done, so whilst I haven't finished I know my method works well, I just didn't take any photos the first time round)
2l First time round I also used a spotweld cutter, which took twice as long, and I wasn't as happy with the result.
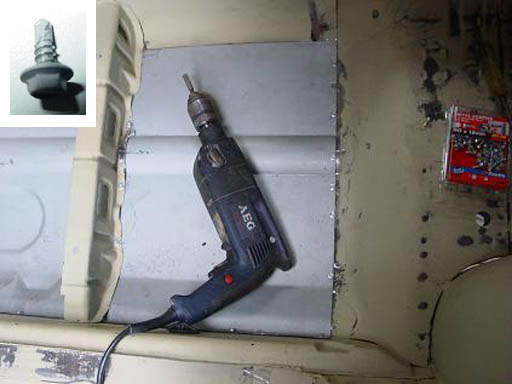
12: I have bitten the bullet and bought another box of tech screws, knowing the ones jumbo took will never be returned, well not at least until after I buy another box. Now the floorpan is fitted roughly into shape, tech screw it everywhere, till the point it won't/can't move around. There would be nothing worse than a half welded floorpan that's now not sitting on the floor like it should be.
Below are some pictures of what a tech screw is (not sure if thats what they are called in the States) and a couple showing just how well attached the floorpan is with screws. Dont worry about the shedload of holes after you remove them, they can be filled with weld and form kind of a mig spotweld.