Restoring A Series I BRE SPOOK

Contributed by: Jim Arnett to CTZCC Forum and IZCC Z Car Home Page
As Of: 15 April 2010
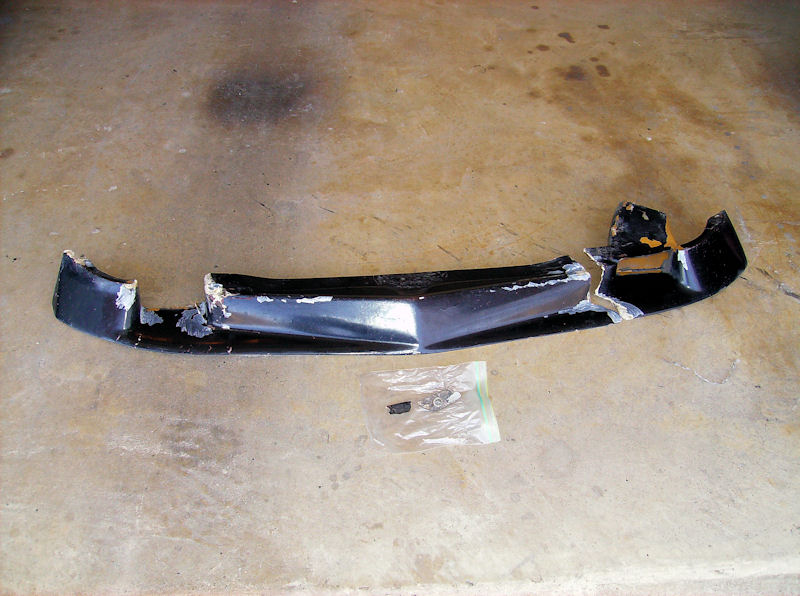
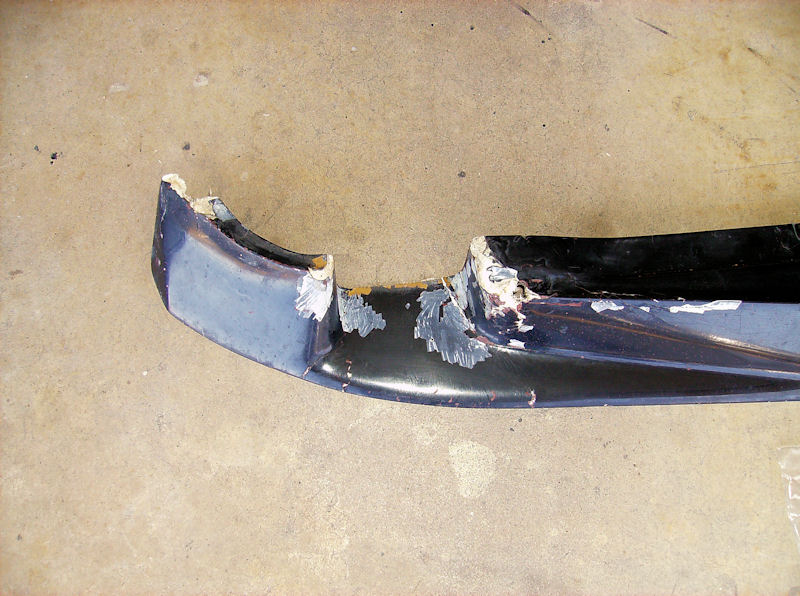
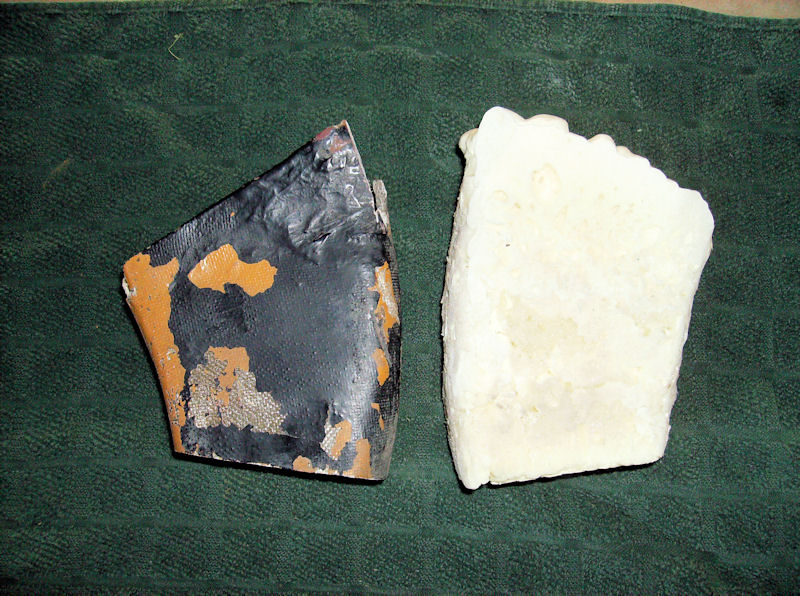
One look at my spook shows an emphasis on air-dam features, with probably deficient downforce qualities. Some 30 years ago I badly damaged the spook when I drove into an intersection flooded with about 6" inches of water. The spook was snapped into two pieces and a large part was ripped from the car. The short left end section was still attached to the car, as was a 2" reinforced mounting tab from the large part. As soon as the water cleared, I returned to search for pieces and located the main section. The right side brake duct was missing and never located. The photo below shows what I recovered. All the parts went into the attic for a deferred decision on repairs or replacement.
Below: Flash forward 30 years to my re-furb project. While getting the car ready for the painter, I looked over the spook and decided to try and rehab it before surrendering and buying a new one. A large part of the decision was caught up in the unique styling of my ancient piece, but most important was that it was original to the car.
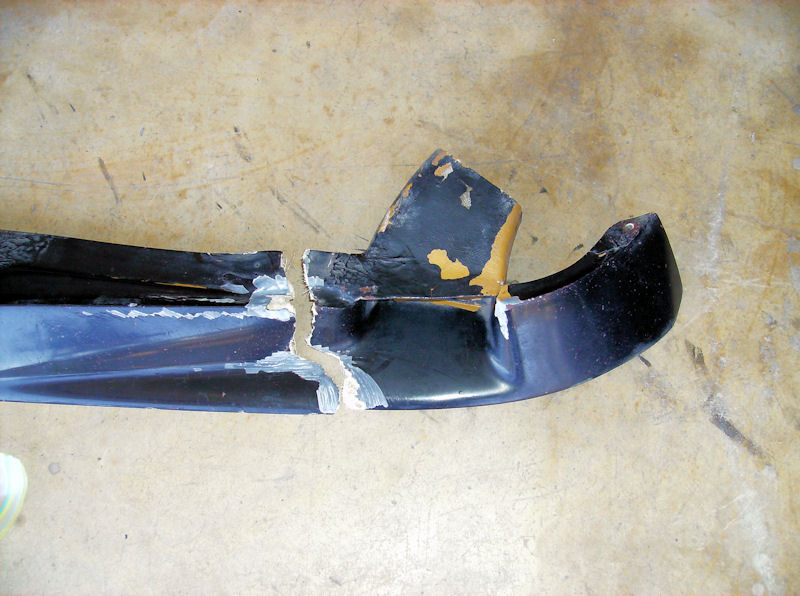
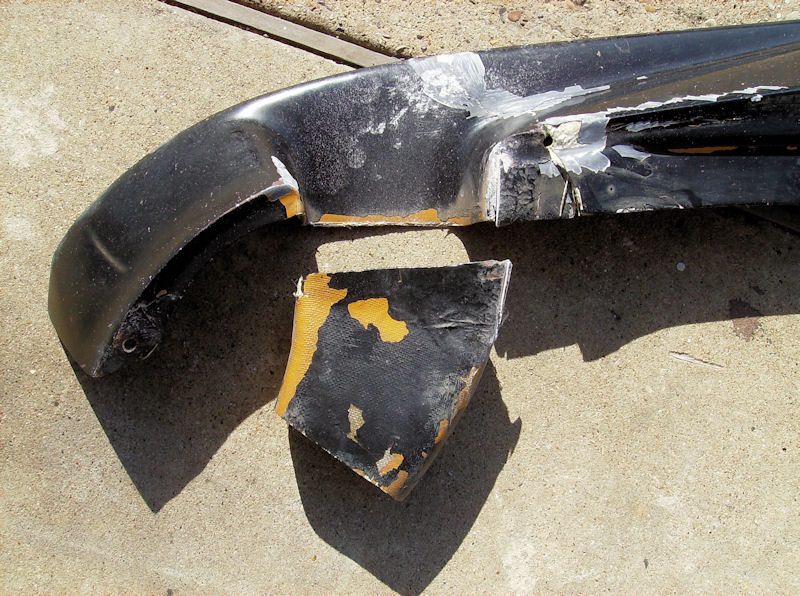
In addition to the broken left side, the right side had a badly crushed corner at the brake duct inlet (one of the valance mounting points) and the broken outboard mounting tab. And, let's not forget the missing duct. Oh well, anyone who has experienced the two greatest days in a boat-owner's life has likely picked up some basic fiberglass skills.
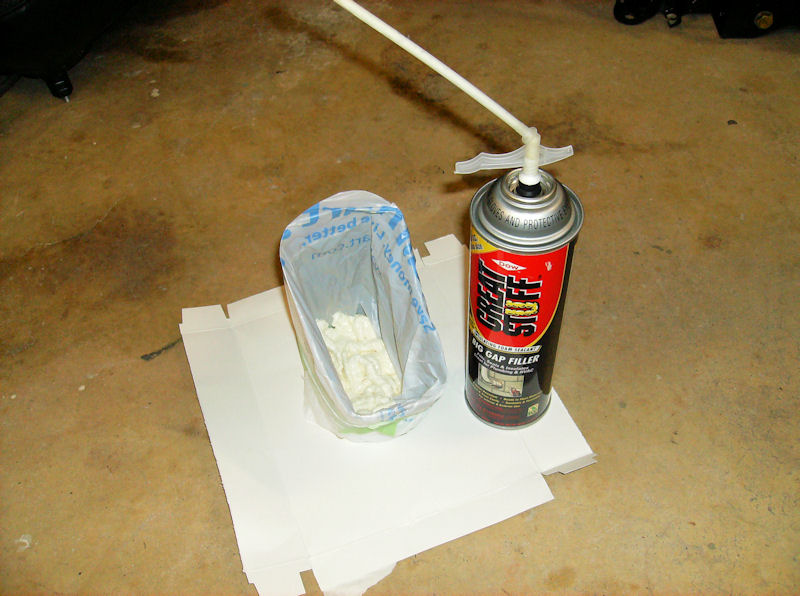
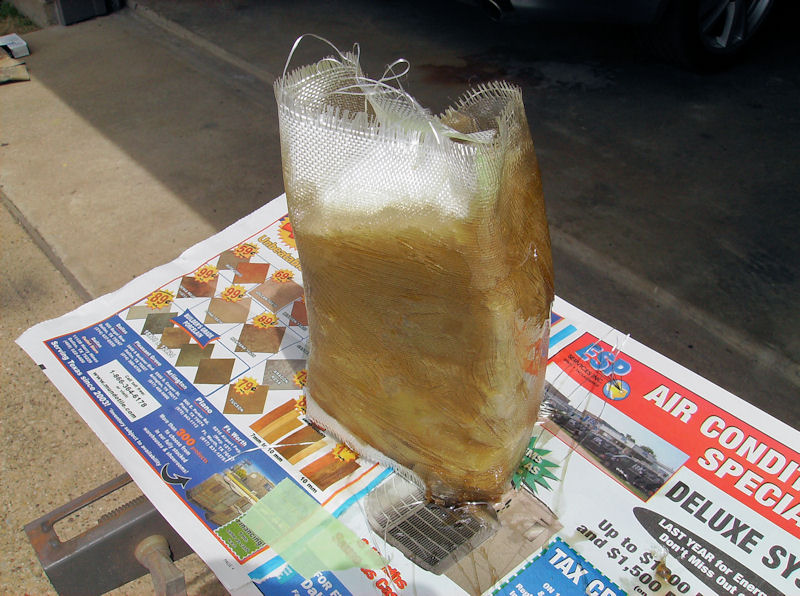
Below: I removed the left duct to use it as a mold for the right side replacement. Using a grocery bag liner and some spray foam, I eventually had a form to use for fiberglass lay-up. The neat thing about spray foam is if you mess up a form or mold, you can always add new foam and reshape. I wrapped the form with cling wrap before adding the layers of glass cloth and resin epoxy.
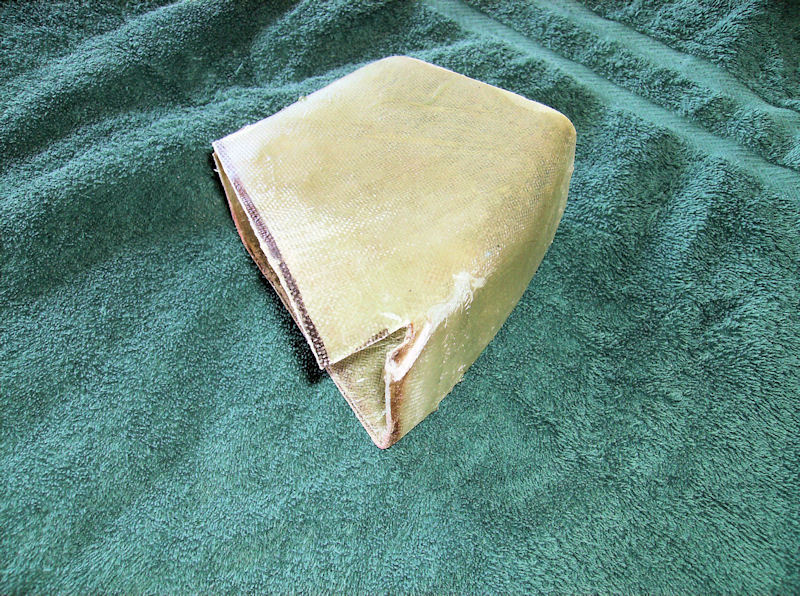
Below: Here is the replacement brake duct after final trimming.
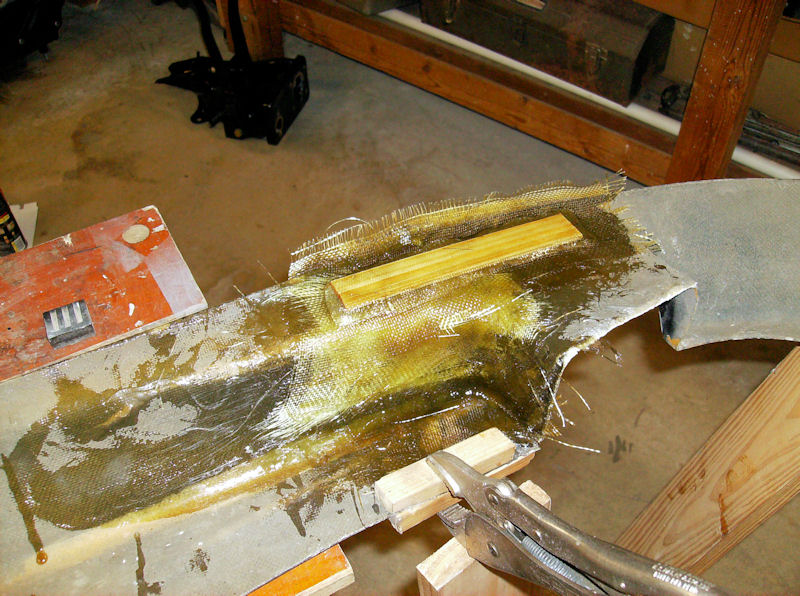
Below: A bunch of layers of glass cloth and resin epoxy went into repairs for the spook body. A couple of short stringers were added to reinforce the weak points. Here is work-in-progress on the sheared off left end, with a stringer placed directly across the break.
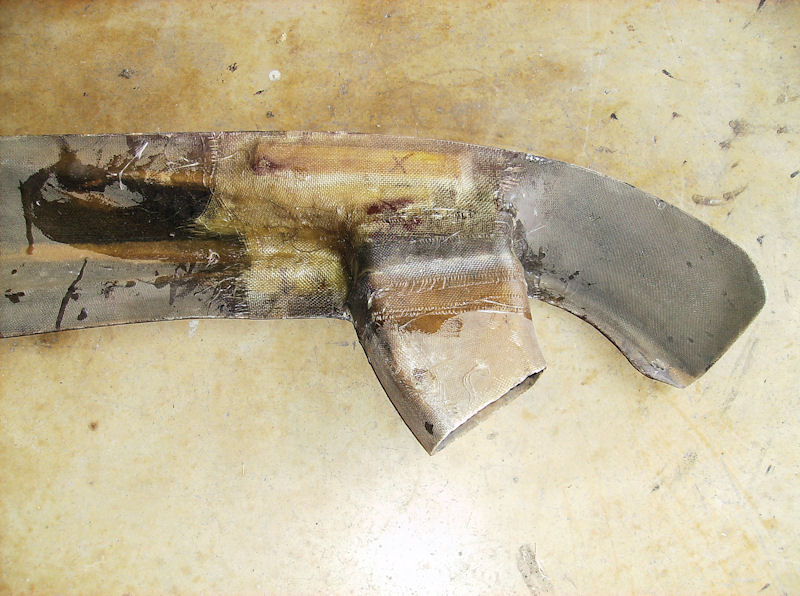
Below: Here the original brake duct is back in place and all repairs for broken left side are complete.
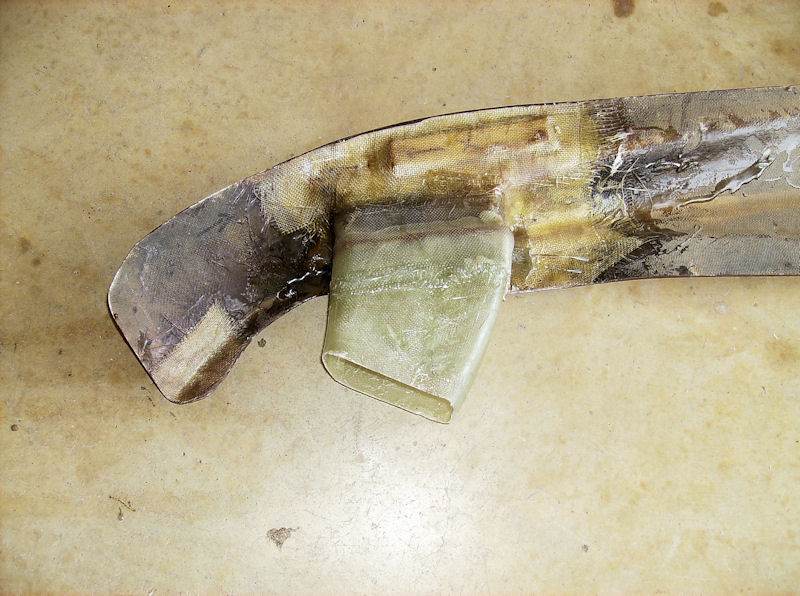
Below: And here is the replacement duct now in place along with the mounting tab at the end.
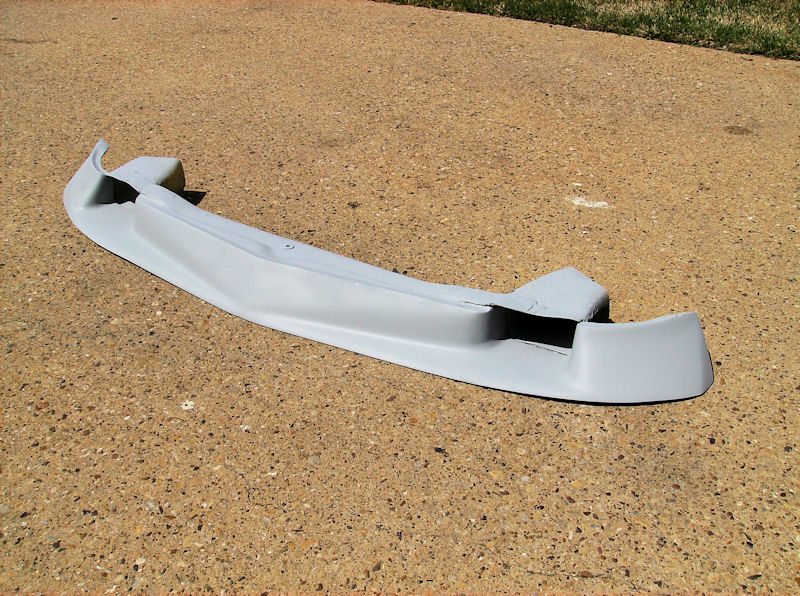
Below: Finally, repairs are complete with a quick coat of primer. The renovated spook is ready for the paint shop.
All in all, I think this small restoration project will pay a nice dividend in the overall effect of the finished car. Now, I can't wait to see it finished out in 920 gold - just as it looked 39 years ago!!!